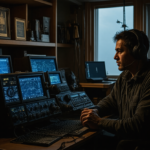
In the world of satellite communication, signal strength plays a crucial role in establishing a clear and stable connection. Whether you are an amateur radio enthusiast, a professional installer, or a hobbyist seeking optimal signal quality, mastering the art of satellite dish alignment can significantly enhance your reception, especially when signals are weak. This comprehensive guide covers everything from understanding satellite geometry to practical alignment techniques, providing you with the essential knowledge to optimize your satellite dish setup for weak signals.
- Understanding Satellite Signal Reception and Its Challenges
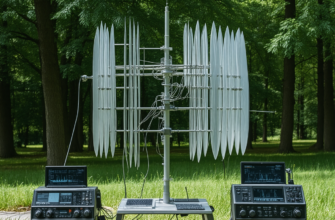
- Key Components Needed for Successful Dish Alignment
- Understanding Satellite Position and Signal Path
- Satellite Orbits and Azimuth/Elevation
- Calculating the Satellite Position
- Step-by-Step Guide to Aligning a Satellite Dish for Weak Signals
- Step 1: Preliminary Site Selection and Setup
- Step 2: Determining Optimal Azimuth and Elevation
- Step 3: Rough Alignment Using Compass and Inclinometer
- Step 4: Fine-Tuning with Signal Strength Meters or Satellite Finders
- Step 5: Adjusting Polarization
- Step 6: Confirming Signal Quality and Stability
- Advanced Tips for Improving Weak Signal Reception
- 1. Use a Larger Dish
- 2. Upgrade to Low-Noise Amplifiers and High-Quality LNBs
- 3. Minimize Signal Losses
- 4. Weatherproof and Maintain Equipment
- 5. Implementing Error Correction and Signal Repeaters
- Common Troubleshooting Tips for Weak Signal Reception
- Achieving Optimal Signal in Challenging Conditions
- References and Useful Resources
Understanding Satellite Signal Reception and Its Challenges
Before diving into alignment methods, it’s important to grasp the fundamentals that affect satellite signal reception. Satellite signals travel over vast distances through space, and their strength at the receiver’s end depends on several factors:
- Line of sight: The dish must have an unobstructed view of the satellite’s position in the sky.
- Signal attenuation: Obstructions like buildings, trees, or terrain can weaken signals.
- Atmospheric conditions: Rain, snow, or fog can cause signal degradation, known as rain fade.
- Alignment precision: Slight deviations from the optimal position can result in weak or lost signals.
Weak signals often require more precise alignment and fine-tuning to ensure reliable reception. Factors such as the satellite’s orbital position, local geography, and atmospheric interference must be carefully considered during setup.
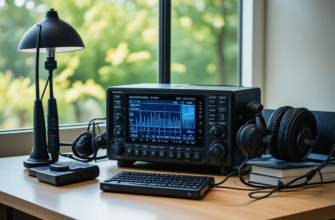
Key Components Needed for Successful Dish Alignment
Achieving optimal alignment requires proper equipment and understanding of your installation environment. Here are the essential components:
| Component | Description | Importance for Weak Signals |
|---|---|---|
| Satellite Dish | Reflects signals towards the LNB, must be appropriately sized and positioned. | Proper size and condition are vital for capturing weak signals effectively. |
| Low-Noise Block Downconverter (LNB) | Converts received signals to a lower frequency for processing. | High-quality LNBs with low noise figures are essential for weak signal reception. |
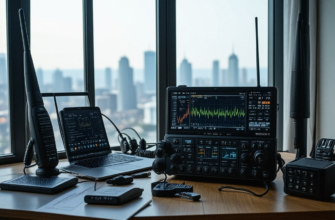
| Alignment Tools | Compass, inclinometer, satellite finder, or signal meter. | Precision tools are critical to achieve optimal alignment in challenging signal conditions. |
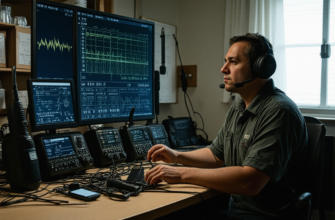
| Receiver & TV/Monitoring Device | Displays signal quality and strength. | Allows real-time monitoring to fine-tune the dish for optimal reception. |
Understanding Satellite Position and Signal Path
Satellite Orbits and Azimuth/Elevation
Satellites are positioned in geostationary orbit at approximately 35,786 km above the Earth’s equator. They appear stationary relative to a fixed point on the ground, but their apparent position in the sky depends on your geographic location.
The two main angles for dish alignment are:
- Azimuth: The compass direction from your location towards the satellite, measured in degrees (0° North, 90° East, 180° South, 270° West).
- Elevation: The angle above the horizon at which the dish must be pointed.
Calculating the Satellite Position
Use online tools or satellite libraries (such as DishPointer or SatLex) to determine the correct azimuth and elevation based on your ZIP code or geographic coordinates. These tools can also provide the satellite’s declination and polarization angles, which are important for precise setup.
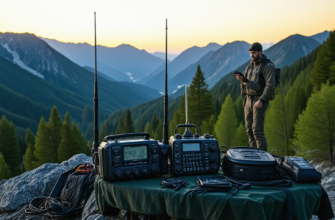
Step-by-Step Guide to Aligning a Satellite Dish for Weak Signals
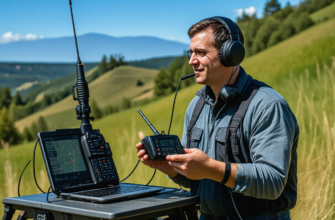
Step 1: Preliminary Site Selection and Setup
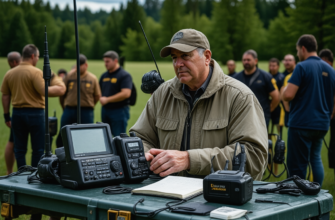
Choose a location with an unobstructed view of the satellites’ line of sight—avoid areas blocked by trees, buildings, or other obstructions. Clear the installation site, and set up your tripod or mounting pole securely. Ensure the dish is stable to prevent movement during fine-tuning.
Step 2: Determining Optimal Azimuth and Elevation
Utilize satellite calculation tools to identify the exact azimuth and elevation angles. Mark or set your mount accordingly. For weak signals, precise measurements are critical because even small deviations can significantly reduce signal quality.
Step 3: Rough Alignment Using Compass and Inclinometer
- Set the azimuth with a compass, adjusting for magnetic declination in your area to find true north.
- Use an inclinometer or a digital level to set the elevation angle accurately.
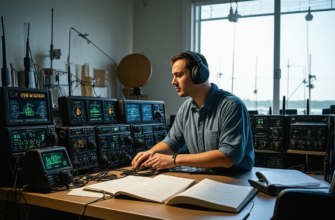
Step 4: Fine-Tuning with Signal Strength Meters or Satellite Finders
If you have a satellite finder device, connect it to the LNB and start adjusting the dish in small increments while monitoring the signal. For more precise tuning, use a receiver’s signal strength indicator or a dedicated satellite signal meter to locate the maximum possible signal quality.
Step 5: Adjusting Polarization
The polarization angle (rotation) of the LNB influences the signal strength and quality, especially for weak signals. Carefully rotate the LNB in its mount to find the optimal polarization setting, which can be guided by the satellite calculation data.
Step 6: Confirming Signal Quality and Stability
Once the signal indicator shows maximum strength and quality, secure all mounting hardware tightly. Repeat the adjustment process if necessary to fine-tune the position further. Use a receiver monitor to observe spectral data and error rates, ensuring stable and clear reception.
Advanced Tips for Improving Weak Signal Reception
1. Use a Larger Dish
A larger dish has a greater surface area, capturing more of the satellite’s weak signals. For weak signals, a dish diameter of at least 1 meter is recommended, though larger sizes yield better results.
2. Upgrade to Low-Noise Amplifiers and High-Quality LNBs
High-quality LNBs with a low noise figure (e.g., 0.1 – 0.3 dB) improve sensitivity to weak signals. Consider using a Low-Noise Block with an integrated noise reduction system or higher gain options when dealing with weak signals.
3. Minimize Signal Losses
- Use high-quality coaxial cables with low loss characteristics.
- Shorten cable lengths where possible.
- Ensure all connectors are well-sealed and properly installed.
4. Weatherproof and Maintain Equipment
Weather conditions can impact signal quality. Regularly check and clean the dish and LNB. Protect connectors and cables from water and corrosion. In case of heavy rain or snow, consider installing backup power sources or signal repeaters.
5. Implementing Error Correction and Signal Repeaters
Advanced enthusiasts can incorporate digital error correction techniques or use signal repeaters in challenging environments to boost weak signals.
Common Troubleshooting Tips for Weak Signal Reception
| Issue | Possible Cause | Solution |
|---|---|---|
| Fluctuating signal strength | Dish movement, wind, or loose fittings | Secure all mounting hardware and check for movement periodically |
| Low signal quality despite correct alignment | Obstructions or atmospheric interference | Relocate the dish to an open area; wait for weather conditions to improve |
| No signal at all | Incorrect satellite position calculations or faulty equipment | Recheck all measurements, replace faulty LNB or cables if needed |
| Poor reception during bad weather | Rain fade or atmospheric conditions | Use higher gain dishes, switch to rain-resistant LNBs, or upgrade weatherproofing |
Achieving Optimal Signal in Challenging Conditions
Mastering satellite dish alignment demands patience, precision, and an understanding of the complex variables influencing signal quality. For reception in weak signal scenarios, meticulous measurement, careful equipment selection, and strategic site placement are indispensable. By employing advanced alignment techniques, upgrading components, and continuously monitoring signal quality, enthusiasts can significantly improve their satellite reception even under adverse conditions. Ultimately, achieving stable and clear signal reception is a blend of scientific principles and diligent practice, enabling enthusiasts to explore the full potential of satellite communication systems.
References and Useful Resources
- SatLex Satellite Tools
- DishPointer Satellite Satellite Finder
- Online satellite calculation tools and forums for detailed geographic data
- Technical guides on LNB characteristics and dish size considerations
Похожие записи:
 Mastering DXing: Expert Tips for Contacting Rare Amateur Radio Stations
 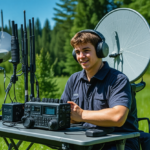 Sharing the Story of My First Satellite Contact: An Amateur Radio Journey
 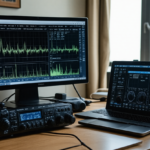 Mastering Radio Signal Recording and Analysis: Key Strategies for Improved Ham Radio Performance
 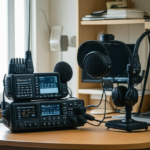 Simple Ways to Improve Your Radio’s Audio Quality: Expert Tips for Better Sound
  Effective Propagation Analysis Techniques Throughout the Year: Maximizing Ham Radio Performance
 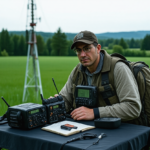 Mastering Emergency Operations: Essential Tips for Responsible Amateur Radio Communication
 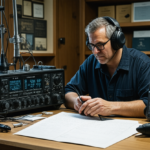 Simple Troubleshooting Tips for Common Radio Issues
  Mastering Digital Voice Conferences: How to Participate Effectively in the Modern Amateur Radio Era
 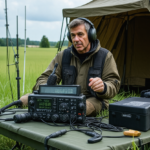 Mastering Your Amateur Radio Setup: Essential Guidelines for Field Day and Emergency Drills
 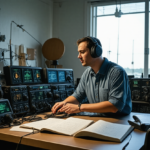 Effective Tips for Organizing Successful Ham Radio Contests: A Comprehensive Guide
 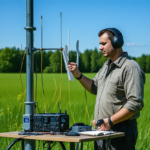 Mastering Your Amateur Radio Antenna: Comprehensive Guide to Tuning and Testing
 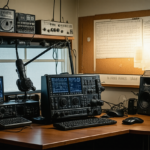 Ultimate Guide: Tips for Setting Up Your Home Radio Station
 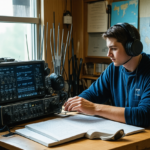 Mastering Regulatory Changes: A Comprehensive Guide for Amateur Radio Enthusiasts
 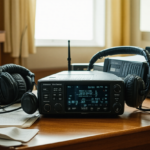 How to Choose Your First Amateur Radio Transceiver: Essential Tips for Beginners
 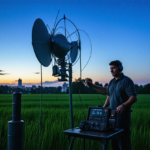 High-Gain Antennas for Long-Distance Communication: Unlocking Extended Reach in Amateur Radio
 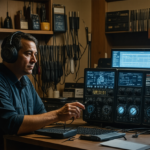 Effective Troubleshooting Guide for Common Radio Hardware Issues in Amateur Radio