For amateur radio enthusiasts, achieving optimal communication quality depends heavily on understanding, recording, and analyzing radio signals. Whether you’re a seasoned operator or just starting, mastering these techniques can significantly enhance your station’s performance, troubleshoot interference issues, and improve signal clarity. This comprehensive guide explores the best practices for recording radio signals and performing in-depth analysis to refine your radio operations. Ready to delve into the world of signal mastering? Let’s begin.
- Understanding Radio Signal Recording and Its Importance
- What Are Radio Signals and Why Record Them?
- Benefits of Proper Signal Recording
- Tools and Equipment for Radio Signal Recording
- Essential Hardware Components
- Software for Recording and Analysis
- Steps for Effective Radio Signal Recording
- 1. Setting Up Your Equipment Correctly
- 2. Optimizing Signal Quality Before Recording
- 3. Recording the Signal
- 4. Saving and Managing Recordings
- Analyzing Radio Signals: Techniques and Methods
- Understanding Spectrum and Waterfall Displays
- Key Metrics to Examine
- Tools and Techniques for Deep Analysis
- Frequency Spectrum Analysis
- Demodulation and Decoding
- Propagation Tracking and Timing
- Performing Quantitative Analysis with Formulas
- 1. Signal-to-Noise Ratio (SNR)
- 2. Free Space Path Loss (FSPL)
- Practical Tips for Better Signal Recording and Analysis
- Case Study: Enhancing HF Communication Through Signal Analysis
- Scenario Description
- Steps Taken
- Outcome
- Empowering Your Radio Operations with Signal Mastery
- Final Tips for Success
- Further Resources
Understanding Radio Signal Recording and Its Importance
What Are Radio Signals and Why Record Them?
Radio signals are electromagnetic waves transmitted through the air, carrying information such as voice, data, or Morse code. Recording these signals allows operators to preserve a snapshot of communication sessions, analyze signal quality, and diagnose issues like interference or propagation anomalies.
Recording is especially vital for:
- Post-communication analysis — reviewing signals to understand their characteristics
- Interference detection — identifying sources affecting signal clarity
- Propagation studies — examining how radio waves travel over different conditions
- Technical troubleshooting — diagnosing issues within station equipment
Benefits of Proper Signal Recording
- Improved signal quality understanding — By reviewing recordings, operators can fine-tune their equipment for better performance.
- Enhanced troubleshooting capabilities — Isolating interference or distortion patterns becomes easier when signals are stored for detailed review.
- Documentation and training — Recorded signals serve as valuable references for training new operators or documenting station behavior over time.
- Research and propagation studies — Long-term data collection aids in understanding radio wave propagation under varying conditions.
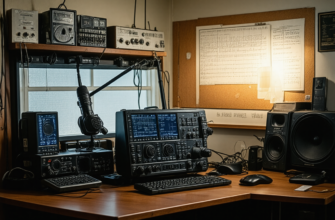
Tools and Equipment for Radio Signal Recording
Essential Hardware Components
To efficiently record and analyze radio signals, several key pieces of equipment are necessary:
| Component | Description | Examples |
|---|---|---|
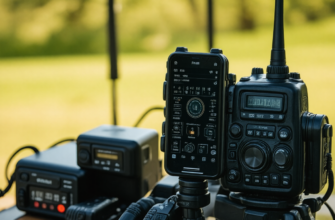
| Software-Defined Radio (SDR) | Versatile radio receiver that converts radio signals into digital data | RTL-SDR, HackRF, Airspy |
| Analog Radio Receiver or Transceiver | Traditional hardware for radio reception, often combined with an external sound card for digitization | Icom IC-7300, Kenwood TS-590 |
| Computer with Recording Software | Powered machine to process, record, and analyze signals | Windows, macOS, or Linux PC with suitable software |
| Sound Card Interface | Connects radio to computer for digital data transfer | External sound card or built-in sound card with appropriate input/output |
| Antenna Systems | Proper antenna setup for receiving specific frequency ranges | Wire dipoles, vertical antennas, Yagis |
Software for Recording and Analysis
There are numerous software options, both free and commercial, designed to facilitate radio signal recording and analysis:
- SDR# (SDR Sharp): Open-source SDR receiver software suitable for many SDR devices.
- Gqrx: Linux and macOS compatible SDR receiver and spectrum analyzer software.
- Audacity: A popular free digital audio editor suitable for recording raw audio data from sound cards.
- CVARC, Spectrum Lab, and FLDIGI: For advanced signal analysis, decoding, and processing.
- Zenith Desktop Software: Enables detailed spectrum visualization and waterfall displays.
Steps for Effective Radio Signal Recording
1. Setting Up Your Equipment Correctly
Proper setup is critical to ensure clean recordings. Follow these steps:
- Align your antenna: Choose the right type and placement for your target frequencies to maximize reception.
- Connect the receiver to your computer: Use a high-quality sound card interface or SDR hardware compatible with your software.
- Configure your software: Select correct input devices, sample rates, and recording preferences.
2. Optimizing Signal Quality Before Recording
To capture the best possible signal:
- Ensure minimal local interference by turning off nearby electronics or utilizing bandpass filters.
- Adjust gain settings to avoid clipping or distortion.
- Use preselectors or filters if available to isolate the desired frequency range.
3. Recording the Signal
Once configured, follow these best practices:
- Start the recording software just before the communication begins to avoid missing crucial parts.
- Use high sample rates (e.g., 48kHz or higher) for better resolution.
- Label recordings with detailed metadata including date, time, frequency, mode, and station info.
4. Saving and Managing Recordings
Store recordings in organized folders with consistent naming conventions. Consider creating a database or catalog for quick retrieval during analysis. Maintaining a backup is also advisable to prevent data loss.
Analyzing Radio Signals: Techniques and Methods
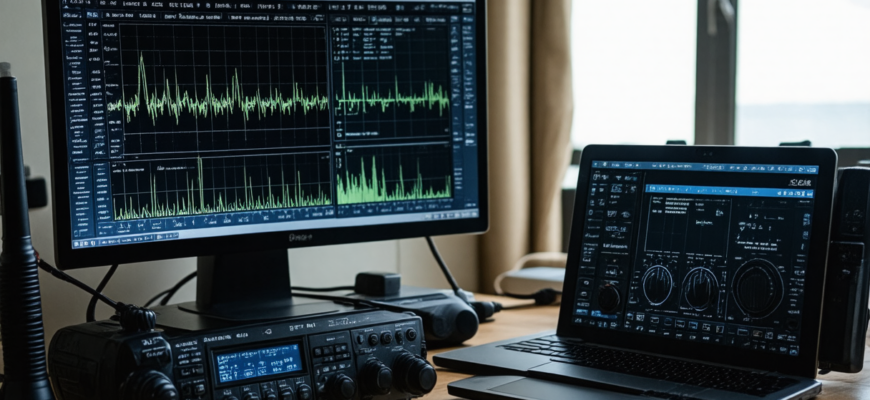
Understanding Spectrum and Waterfall Displays
Visualization is crucial for analysis. Spectrum displays show signal amplitude versus frequency, while waterfall graphs depict signal strength over time, providing insights into propagation patterns and interference.
Key Metrics to Examine
- Signal-to-Noise Ratio (SNR): Indicates clarity of the received signal.
- Bandwidth: The width of the signal, helps identify modulation type.
- Signature Patterns: Unique features can help identify sources or modulation methods.
Tools and Techniques for Deep Analysis
Frequency Spectrum Analysis
- Use spectral analyzers within software like Spectrum Lab or SDR# to observe signal characteristics.
- Identify interference sources or unexpected signals.
Demodulation and Decoding
- Utilize software like Fldigi or WSJT-X to decode Morse code, digital modes, or voice signals.
- Analyze decoded data for errors or pattern inconsistencies.
Propagation Tracking and Timing
- Track signal strength variations over time to identify propagation windows.
- Compare with solar, atmospheric, or geomagnetic data for comprehensive analysis.
Performing Quantitative Analysis with Formulas
Quantitative data enhances understanding of signal conditions. Key formulas include:
1. Signal-to-Noise Ratio (SNR)
SNR (dB) = 20 * log10(Signal Amplitude / Noise Amplitude)
2. Free Space Path Loss (FSPL)
FSPL (dB) = 20 * log10(d) + 20 * log10(f) – 27.55
where:
- d = distance between transmitter and receiver (km)
- f = frequency (MHz)
This formula helps estimate how much a signal deteriorates over distance, assisting in propagation assessments.
Practical Tips for Better Signal Recording and Analysis
- Regular calibration: Keep your equipment calibrated to ensure accurate readings.
- Use high-quality antennas: Better antennas result in cleaner signals and more useful recordings.
- Maintain a detailed log: Record contextual information for every session, aiding future analysis.
- Leverage automation: Automate repetitive tasks like file naming and backups with scripts or software features.
- Stay updated: Keep your software and firmware current for best performance and new features.
Case Study: Enhancing HF Communication Through Signal Analysis
Scenario Description
An amateur radio operator notices inconsistent communication quality on the 20-meter band during certain times. To diagnose the issue, the operator records signals over several days, analyzing the spectrum and digital modes used.
Steps Taken
- Setup the SDR receiver with high gain and proper filtering.
- Scheduled recordings during peak hours.
- Utilized Spectrum Lab to visualize the spectrum and Waterfall for propagation insights.
- Decoded digital signals with FLDIGI to check for errors.
- Compared signal strength and interference patterns with solar activity data.
Outcome
The analysis revealed increased noise levels during solar storms, affecting propagation. Adjustments included changing antenna orientation and tuning filters, which improved signal clarity and communication reliability.
Empowering Your Radio Operations with Signal Mastery
Recording and analyzing radio signals is a cornerstone for advancing amateur radio operations. By employing the right tools, techniques, and systematic approaches, operators can gain deeper insights into their station’s performance, improve communication quality, troubleshoot effectively, and contribute to propagation research. Continuous learning and meticulous analysis turn ordinary transmissions into opportunities for discovery and mastery of the electromagnetic spectrum.
Final Tips for Success
- Invest in quality hardware and software designed for your operational needs.
- Develop a consistent routine for recording and analyzing signals.
- Keep detailed logs and organize recordings for easy access.
- Engage with community forums and resources to stay updated on best practices.
Further Resources
- SDR.hu – Database of SDR Receivers
- WR8E Ham Radio Articles and Resources
- Spectrum Lab Software Community
- FLDIGI Digital Mode Software
Embrace the power of detailed signal recording and analysis, and elevate your amateur radio journey to new heights of proficiency and discovery.
Похожие записи:
 Effective Propagation Analysis Techniques Throughout the Year: Maximizing Ham Radio Performance
  In-Depth Analysis of the Latest Valve and Solid State Amplifiers: Which One Truly Elevates Your Radio Experience?
 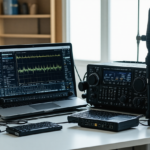 Top Accessories to Maximize Your Performance in Digital Mode Amateur Radio Operations
 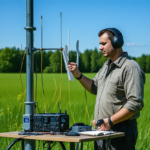 Mastering Your Amateur Radio Antenna: Comprehensive Guide to Tuning and Testing
 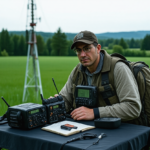 Mastering Emergency Operations: Essential Tips for Responsible Amateur Radio Communication
 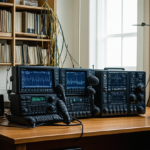 Ultimate Guide to Upgrading Your Amateur Radio Station with New Gear: Top Tips and Strategies
 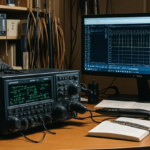 Mastering Multiple Frequency Programming: The Ultimate Guide for Amateur Radio Enthusiasts
 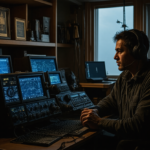 Mastering DXing: Expert Tips for Contacting Rare Amateur Radio Stations
 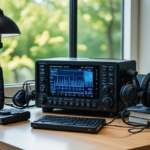 Comprehensive Review of the Latest Transceiver Models on the Market: Innovations and Performance for Amateur Radio Enthusiasts
  Understanding Ham Radio Frequencies and Bands: A Comprehensive Guide for Amateur Radio Enthusiasts
  Mastering Digital Voice Conferences: How to Participate Effectively in the Modern Amateur Radio Era
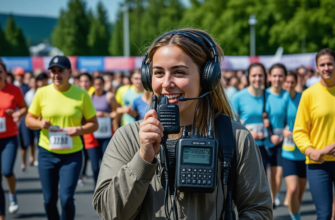
  Beginner’s Guide to Operating Portable Ham Radio at Events: Mastering Communication for Event Support
 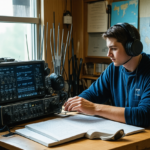 Mastering Regulatory Changes: A Comprehensive Guide for Amateur Radio Enthusiasts
 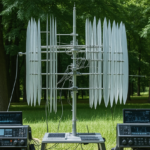 Innovative Antenna Designs for Enhanced HF Performance
 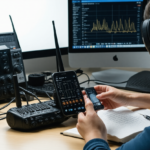 Comprehensive Review of the Latest Mobile Radio Apps and Software for Amateur Enthusiasts
 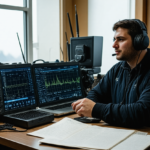 Getting Started with Digital Modes like FT8 and PSK31: A Complete Guide for Amateur Radio Enthusiasts