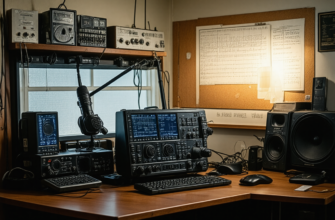
For ham radio enthusiasts and amateur radio operators, achieving clear, crisp, and professional-quality audio is often a top priority. Whether you’re engaging in casual conversations, participating in contests, or experimenting with transmission techniques, the audio quality of your radio setup can greatly influence your communication experience. While some improvements require advanced hardware or technical adjustments, many simple and effective methods can significantly enhance your radio’s sound output without breaking the bank or requiring complex modifications.
- Understanding the Importance of Audio Quality in Amateur Radio
- Fundamental Principles for Improving Radio Audio Quality
- Practical and Simple Strategies to Enhance Your Radio’s Audio Quality
- 1. Proper Microphone Selection and Placement
- Choosing the Right Microphone
- Microphone Placement Tips
- 2. Adjusting Your Microphone and Transmit Settings
- Set Appropriate Microphone Gain
- Use Voice-Delay or Nuetral Settings
- 3. Employing Proper Equalization Techniques
- Understanding Equalization (EQ)
- Simple EQ Adjustments
- 4. Ensuring Quality Cabling and Connectors
- The Role of Good Cables
- Routine Inspection and Maintenance
- 5. Optimizing Your Transmission Environment
- Minimize Background Noise
- Soundproofing and Acoustic Treatment
- 6. Using Signal Processing Equipment
- Speech Processing Devices
- Software Plugins and Digital Processing
- 7. Regular Testing and Feedback
- Perform Routine Sound Checks
- Use Online Tools and Spectrum Analyzers
- Advanced Tips for Experienced Operators
- 1. Fine-Tuning Your Transmit Filter Settings
- 2. Experimenting with Different Microphone Techniques
- 3. Upgrading Hardware for Better Results
- Summary Table: Quick Reference for Improving Your Radio Audio
- Additional Resources
Understanding the Importance of Audio Quality in Amateur Radio
High-quality audio ensures that your voice is conveyed clearly and intelligibly to other operators. It reduces misunderstandings, promotes effective communication, and improves the overall enjoyment of the hobby. Poor audio can result from various issues, including faulty equipment, improper settings, or environmental factors. By addressing these aspects methodically, you can improve your transmission quality and make your signals more appealing and professional.
Fundamental Principles for Improving Radio Audio Quality
Before diving into specific solutions, it is crucial to understand some fundamental principles that underlie good audio performance:
- Clarity: Your voice should be clear, free from distortions or background noise.
- Naturalness: Audio should sound natural without excessive bass or treble boosts.
- Consistency: The audio level should remain steady across transmissions.
- intelligibility: The transmitted audio should be easy to understand even at low signal levels.
Practical and Simple Strategies to Enhance Your Radio’s Audio Quality
These methods are designed to be accessible, cost-effective, and easy to implement for amateur radio operators of all skill levels.
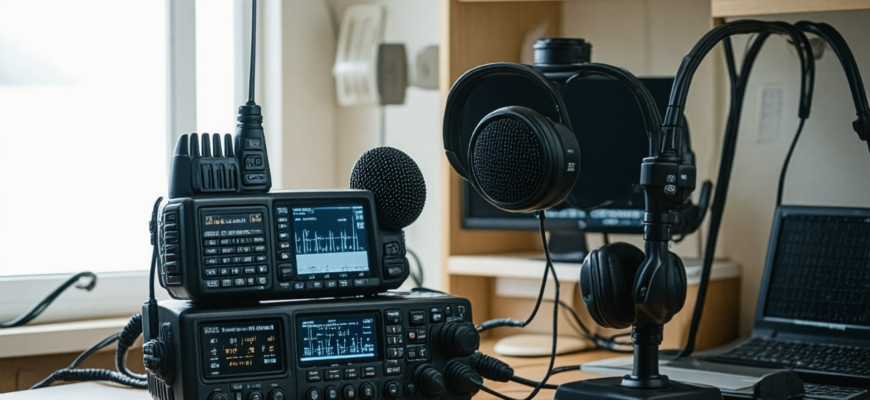
1. Proper Microphone Selection and Placement
Choosing the Right Microphone
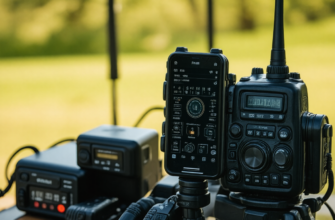
The choice of microphone significantly impacts audio quality. Most ham radios come with built-in microphones, but external microphones often provide much better sound. Dynamic microphones are typically preferred for radio work because they handle high sound pressure levels and reject background noise effectively. Conversely, condenser microphones offer greater sensitivity and a fuller sound but can pick up unwanted ambient noise.
| Type of Microphone | Advantages | Disadvantages |
|---|---|---|
| Dynamic | Robust, less sensitive to background noise, affordable | Less detailed sound quality |
| Condenser | Rich, detailed sound, higher fidelity | More sensitive to ambient noise, expensive |
Microphone Placement Tips
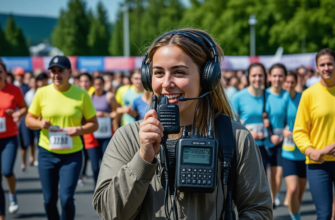
- Maintain close proximity: Position the microphone 1-2 inches from your mouth for optimal gain.
- Avoid popping sounds: Use a windscreen or pop filter to minimize plosive sounds (“p,” “b,” “t” sounds).
- Minimize background noise: Ensure a quiet environment to avoid capturing unwanted sounds.
2. Adjusting Your Microphone and Transmit Settings
Set Appropriate Microphone Gain
Overly high gain settings cause distorted and harsh audio, whereas too low gain results in weak signals. It’s essential to find the optimal level where your voice sounds natural and clear. Use diagnostic displays on your radio (if available) or monitor your transmitted audio with an external receiver to tune the gain properly.
Use Voice-Delay or Nuetral Settings
Many radios have pre-set voice settings (e.g., “speech processor” or “voice equalizer”). Choose or customize them for a balanced sound. Disabling heavy compression or bass boosts can help produce a more natural tone.
3. Employing Proper Equalization Techniques
Understanding Equalization (EQ)
EQ allows you to adjust specific frequency ranges to enhance vocal clarity or reduce unwanted sounds. A typical guideline is to slightly boost frequencies between 300Hz and 3kHz for intelligibility and reduce excessive bass below 200Hz if the audio is too boomy.
Simple EQ Adjustments
- Boost around 1kHz for speech presence.
- Reduce below 200Hz if there’s muddiness.
- Use high-pass filters to eliminate rumble and low-frequency noise.
4. Ensuring Quality Cabling and Connectors
The Role of Good Cables
Low-quality cables and connectors can introduce noise, signal loss, or interference. Use shielded, well-made cables with proper connectors (e.g., gold-plated connectors) to maintain signal integrity.
Routine Inspection and Maintenance
- Check for loose connections.
- Replace damaged cables promptly.
- Keep connectors clean from dirt and oxidation.
5. Optimizing Your Transmission Environment
Minimize Background Noise
Operate in a quiet space away from electronic devices, fans, or other sources of interference. Use a microphone with noise-cancelling capabilities if possible.
Soundproofing and Acoustic Treatment
Simple improvements like soft furnishings, carpets, or foam panels can dampen reflections and extraneous noises from the environment.
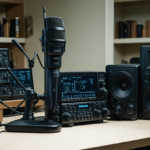
6. Using Signal Processing Equipment
Speech Processing Devices
Investing in hardware like audio processors, compressors, or equalizers designed for radio can dramatically enhance sound quality. For example:
- Compressors: Even out audio levels, reducing sudden volume spikes.
- Noise Gate: Suppresses background noise during pauses.
- De-essers: Reduce sibilance (“s” sounds) for a smoother vocal tone.
Software Plugins and Digital Processing
Some software-based solutions can be integrated with digital modes, providing real-time processing and filtering to produce cleaner audio output.
7. Regular Testing and Feedback
Perform Routine Sound Checks
- Use a receiver or recording device to analyze your transmitted audio.
- Ask fellow operators for constructive feedback.
- Record your transmissions periodically to monitor improvements.
Use Online Tools and Spectrum Analyzers
Several free or commercial spectrum analysis tools can help visualize your emission spectrum, identify interference, and fine-tune your setup for optimal audio quality.
Advanced Tips for Experienced Operators
1. Fine-Tuning Your Transmit Filter Settings
Modern radios often include transmit filters or equalizers that allow precise shaping of the transmitted speech. Adjusting these can help reduce nearby interference and improve audio clarity.
2. Experimenting with Different Microphone Techniques
Techniques such as using a headset, a boom mic, or a lapel mic can influence sound quality. Practice positioning and modulation to find what best captures your voice naturally.
3. Upgrading Hardware for Better Results
Investing in higher-quality microphones, dedicated audio interfaces, or external processing units can yield professional-grade sound quality that stands out during any contest or casual QSOs.
Summary Table: Quick Reference for Improving Your Radio Audio
| Method | Key Benefits | Implementation Tips |
|---|---|---|
| Use quality microphone | Clearer, more natural sound | Choose dynamic or condenser based on environment |
| Proper microphone placement | Reduces plosives, improves clarity | Keep close, use windscreens |
| Adjust gain and EQ | Optimizes volume and tone | Test and listen carefully |
| Maintain cables and connectors | Reduces noise and signal loss | Regular inspection, use high-quality cables |
| Optimize environment | Minimizes background noise | Operate in quiet space, acoustic treatment |
| Utilize signal processors | Speech clarity and consistency | Incorporate compressors, noise gates |
| Routine testing | Continuous improvement | Record and analyze regularly |
Improving the audio quality of your amateur radio station doesn’t necessarily require expensive equipment or complex modifications. Implementing these simple, practical steps can lead to significant enhancements in clarity, naturalness, and overall sound quality. Regular testing, environment optimization, and careful equipment selection provide a robust foundation for achieving professional-quality audio. As with any technical hobby, patience and continuous adjustment are key — experiment with different setups until you find the perfect balance that makes your voice sound its best on the airwaves.
Additional Resources
- ARRL (American Radio Relay League) — Technical advice and community support
- QRP Labs — DIY kits and tutorials
- Ham Radio School — Educational resources on radio basics
Embark on the journey of refining your radio’s audio, and enjoy more engaging, effective communication across the airwaves. Clear, authoritative sound makes your signals stand out and enhances the overall amateur radio experience for everyone involved.
Похожие записи:
 Top Microphone and Speaker Combos for Clear Audio: The Ultimate Guide for Amateur Radio Enthusiasts
 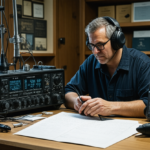 Simple Troubleshooting Tips for Common Radio Issues
 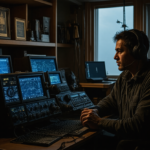 Mastering DXing: Expert Tips for Contacting Rare Amateur Radio Stations
  Top 10 Portable Ham Radios for On-the-Go Enthusiasts
  Rugged Radios for Adventurers and Fieldwork: The Ultimate Guide to Reliable Communication
  How to Build a Simple Dipole Antenna at Home: A Comprehensive Guide for Amateur Radio Enthusiasts
 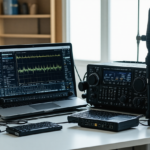 Top Accessories to Maximize Your Performance in Digital Mode Amateur Radio Operations
 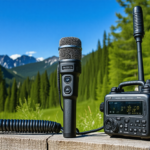 Top Weather-Resistant Microphones for Outdoor Use: The Ultimate Guide for Amateur Radio Enthusiasts
  Building a Simple, Low-Cost Antenna Tuner at Home: A Comprehensive Guide for Amateur Radio Enthusiasts
  Ultimate Guide: Tips for Setting Up Your Home Radio Station
  Ultimate Guide to Staying Organized with Your Radio Accessories: Tips for Amateur Radio Enthusiasts
 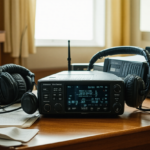 How to Choose Your First Amateur Radio Transceiver: Essential Tips for Beginners
  Ultimate Guide to Upgrading Your Amateur Radio Station with New Gear: Top Tips and Strategies
  Ultimate Guide: Tips to Extend Your Radio’s Battery Life for Amateur Radio Enthusiasts
  Mastering Emergency Operations: Essential Tips for Responsible Amateur Radio Communication
 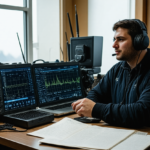 Getting Started with Digital Modes like FT8 and PSK31: A Complete Guide for Amateur Radio Enthusiasts