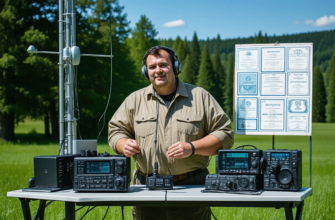
Getting started in amateur radio is an exciting adventure filled with discovery, learning, and hands-on experience. One of the most rewarding milestones for an aspiring ham radio operator is constructing a transceiver from scratch or assembling a kit. This process not only deepens understanding of radio technology but also fosters problem-solving skills and patience. However, the journey is often riddled with unforeseen challenges that test one’s technical knowledge, dedication, and perseverance. In this comprehensive guide, explore the intricate process of building a first transceiver, the common obstacles encountered, and practical solutions to overcome them.
- Understanding the Basics of a Transceiver
- What Is a Transceiver?
- Key Components of a Transceiver
- Preparation Before Building
- Research and Planning
- Gathering Materials and Tools
- The Construction Process
- Step-by-Step Assembly
- Common Pitfalls During Assembly
- Facing and Overcoming Challenges
- Challenge 1: Troubleshooting Unexpected Behaviors
- Challenge 2: Achieving Proper Tuning and Frequency Stability
- Challenge 3: Managing Interference and Noise
- Mathematical Formulas and Technical Considerations
- Calculating Resonant Frequencies
- Power Calculations
- Lessons Learned and Tips for Beginners
- Embracing the Learning Curve
- Further Resources
Understanding the Basics of a Transceiver
What Is a Transceiver?
A transceiver combines a transmitter and a receiver within a single device, allowing for two-way radio communication. For amateur radio enthusiasts, transceivers are crucial tools enabling communication across various distances, from local contacts to worldwide operation.
Key Components of a Transceiver
- VFO (Variable Frequency Oscillator): Sets the operating frequency.
- Power Amplifier: Boosts the RF signal for transmission.
- Mixer: Converts signals between different frequency ranges.
- Modulator/Demodulator: For encoding and decoding information.
- Filters: Suppress unwanted signals and noise.
- Power Supply: Provides stable energy to all components.
Preparation Before Building
Research and Planning
Starting with thorough research on transceiver designs and specifications helps set realistic expectations. Reviewing existing kits, schematics, and tutorials provides foundational knowledge. Planning involves selecting a transceiver model suitable for a beginner and defining the scope of the build.
Gathering Materials and Tools
Preparing all necessary components and tools minimizes disruptions during assembly. Typical materials include:
| Component | Quantity | Description |
|---|---|---|
| Resistors | Varies | Different resistance values as per schematic |
| Capacitors | Varies | Electrolytic, ceramic, etc. |
| Transistors and ICs | As specified | Semiconductor devices |
| Inductors | As needed | Chokes and coils |
| PCB & Chassis | 1 | Printed circuit board or prototyping breadboard |
| Tools | Various | Soldering iron, multimeter, oscilloscope, tweezers, etc. |
The Construction Process
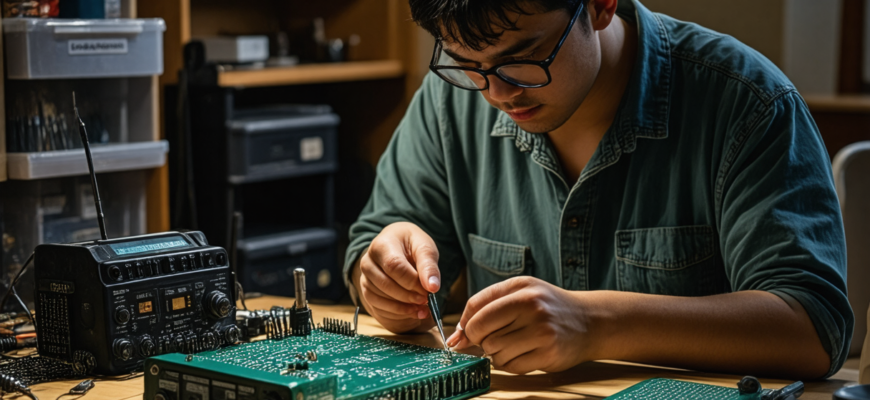
Step-by-Step Assembly
- Schematic Verification: Confirm the circuit diagram. Double-check connections before soldering.
- Component Placement: Arrange and insert components on the PCB or breadboard.
- Soldering: Carefully solder joints, ensuring no bridges or cold connections.
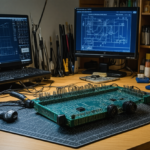
- Initial Testing: Power up the circuit and verify individual sections for correct operation.
- Alignment and Tuning: Use test equipment such as oscilloscopes and signal generators to fine-tune the frequency and behavior.
- Enclosure: Protect the build with a suitable chassis to prevent damage and interference.
Common Pitfalls During Assembly
- Incorrect Component Placement: Mistaking resistor values or reversing polarized components.
- Soldering Errors: Cold joints, bridges, or insufficient solder causing unstable connections.
- Missing Ground Planes: Leading to excessive noise and interference.
- Inadequate Tuning: Ignoring calibration procedures results in poor performance.
Facing and Overcoming Challenges
Challenge 1: Troubleshooting Unexpected Behaviors
When the transceiver doesn’t operate as expected, troubleshooting is essential. Use a systematic approach:
- Check power supply voltages and connections.
- Inspect solder joints and component placements.
- Test individual circuit blocks with a multimeter.
- Use signal generators and oscilloscopes to trace signal flow.
Maintaining a detailed log of modifications and observations simplifies debugging.
Challenge 2: Achieving Proper Tuning and Frequency Stability
Accurate tuning ensures reliable communication. Address common issues by:
- Using high-quality, low-noise oscillators.
- Implementing proper shielding to minimize external interference.
- Adjusting the VCO (Voltage-Controlled Oscillator) carefully with a frequency counter.
- Consulting calibration procedures specific to the transceiver design.
Challenge 3: Managing Interference and Noise
Electromagnetic interference (EMI) can affect performance significantly. To reduce noise:
- Use shielded cables and enclosures.
- Implement proper grounding techniques.
- Place filters at input and output stages.
- Position the transceiver away from radio-frequency interference sources such as fluorescent lights or Wi-Fi routers.
Mathematical Formulas and Technical Considerations
Calculating Resonant Frequencies
Resonant frequency of LC circuits is fundamental in tuning stages:
fres = 1 / (2π √(LC))
Where:
- fres — resonance frequency in Hz
- L — inductance in henrys (H)
- C — capacitance in farads (F)
Power Calculations
Estimating the power output involves measuring voltage and current:
| Parameter | Formula | Notes |
|---|---|---|
| Power (W) | P = V × I | Where V and I are voltage and current at output stage |
| Efficiency (%) | η = (PRF / PDC) × 100 | RF power divided by total DC input power |
Lessons Learned and Tips for Beginners
- Start Small: Build simple circuits first before progressing to full transceivers.
- Follow Schematics Carefully: Deviations can cause malfunctions.
- Use Quality Components: They enhance stability and longevity.
- Document Each Step: Helps in troubleshooting and future modifications.
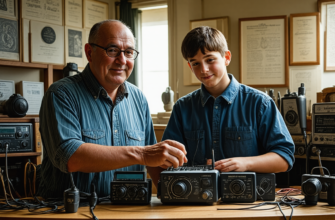
- Join Amateur Radio Communities: Online forums, local clubs, and seasoned hams can offer invaluable advice and mentorship.
Embracing the Learning Curve
Building a first transceiver hands-on is an incredibly fulfilling experience that combines theoretical knowledge with practical skills. While the journey involves overcoming numerous technical challenges, each obstacle provides an opportunity to learn and grow as an amateur radio operator. Patience, meticulous attention to detail, and continuous learning are the keys to success. With perseverance, novice builders can achieve the satisfaction of operating their own constructed transceiver, opening new horizons in communication and technical mastery.
Further Resources
- Online forums for amateur radio enthusiasts
- Recommended transceiver building kits for beginners
- Guides on RF circuit design and tuning
- Basic electronics and soldering tutorials
Embrace the challenge, enjoy the process, and look forward to your first successful transmission!
Похожие записи:
 How to Build Your Own Homemade QRP Transceiver: A Comprehensive Guide for Amateur Radio Enthusiasts
 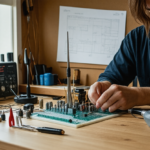 Building a Simple, Low-Cost Antenna Tuner at Home: A Comprehensive Guide for Amateur Radio Enthusiasts
  How a Simple Antenna Repair Sparked a Long-lasting Friendship – An Amateur Radio Journey
 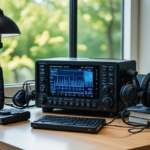 Comprehensive Review of the Latest Transceiver Models on the Market: Innovations and Performance for Amateur Radio Enthusiasts
  Sharing the Story of My First Satellite Contact: An Amateur Radio Journey
  Building a Portable Ham Radio Station for Outdoor Expeditions: The Ultimate Guide
 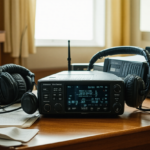 How to Choose Your First Amateur Radio Transceiver: Essential Tips for Beginners
  Celebrating a Milestone with My Radio Club: A Journey of Achievement and Community Spirit
 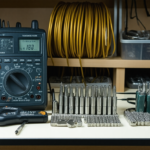 Essential Tools for Cable and Connection Maintenance: A Complete Guide for Amateur Radio Enthusiasts
  How to Build a Simple Dipole Antenna at Home: A Comprehensive Guide for Amateur Radio Enthusiasts
  Getting Started with Digital Modes like FT8 and PSK31: A Complete Guide for Amateur Radio Enthusiasts
  Effective Troubleshooting Guide for Common Radio Hardware Issues in Amateur Radio
  How to Use Repeater Networks for Better Coverage: A Complete Guide for Amateur Radio Enthusiasts
  Portable Antenna Analyzers for Precise Tuning: The Ultimate Guide for Amateur Radio Enthusiasts
  Build Your Own Portable Solar Power Setup for Radio Operations: A Comprehensive Guide
  Understanding Your Radio’s Firmware and How to Update It: A Comprehensive Guide for Amateur Radio Enthusiasts