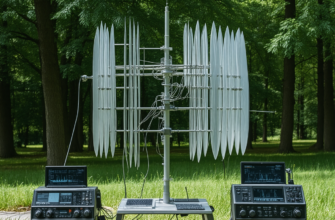
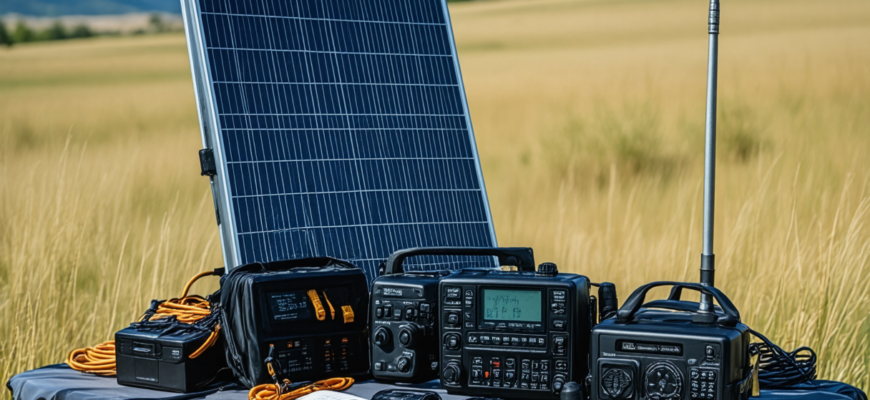
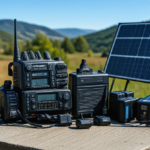
In the world of amateur radio, reliability and mobility are key. Whether you’re participating in field days, emergency communications, or outdoor adventures, having a dependable power source ensures that your radio station remains operational regardless of location. Solar energy provides an excellent solution, offering sustainable, silent, and portable power that aligns perfectly with the needs of radio enthusiasts. This extensive guide will walk you through the entire process of designing, building, and optimizing your own portable solar power system tailored specifically for radio operations.
- Understanding the Basics of Solar Power for Radio Operations
- Components of a Solar Power System
- Designing Your Portable Solar Power System
- Assessing Power Needs
- Estimating Solar Panel Capacity
- Choosing the Right Solar Panels
- Constructing a Portable Solar Power System
- Step-by-Step Assembly Guide
- 1. Selecting and Procuring Components
- 2. Wiring and Connections
- 3. Mounting and Portability
- Optimizing Performance and Reliability
- Maintenance Tips
- Enhancing System Efficiency
- Power Management and Safety
- Battery Safety and Handling
- Overcurrent and Overvoltage Protection
- Practical Considerations for Field Use
- Portability and Compactness
- Weather Resistance and Durability
- Legal and Environmental Aspects
- Cost Breakdown and Budgeting
- Empowering Radio Operations with Solar Energy
- References and Further Reading
Understanding the Basics of Solar Power for Radio Operations
Before diving into assembling your own setup, it’s essential to grasp the fundamental principles of how solar power works and how it integrates with radio equipment. A typical solar power system consists of several key components:
Components of a Solar Power System
- Solar Panels: Convert sunlight into electrical energy.
- Charge Controller: Regulates voltage and current to prevent battery overcharging or damage.
- Battery Bank: Stores energy for use during cloudy days or night-time operations.
- Inverter (optional): Converts DC (direct current) to AC (alternating current) if necessary for certain radio accessories.
- Load Connections: Connects the system to your radio transceiver and accessories.
In the context of amateur radio, most equipment operates on 12V or 24V DC, making direct connection to a properly managed battery bank highly efficient. The challenge lies in designing a system that can generate enough power while remaining manageable in size and weight for portable use.
Designing Your Portable Solar Power System
Assessing Power Needs
The first step in estimating your system capacity involves determining the power consumption of your radio station. This includes the transceiver, antennas, accessories, and any auxiliary equipment. Use the following approach:
Power Consumption (Watts) = Voltage (V) × Current (A)
- Identify your transceiver’s typical current draw at operating power levels (usually printed on the device or found in the manual).
- Calculate the total power consumption by summing individual components.
- Estimate operational hours per day to determine the required energy in watt-hours (Wh):
Example: If your transceiver draws 5 A at 12 V, and you plan to operate it for 4 hours per day:
Power needed = 12 V × 5 A = 60 W
Total energy per day = 60 W × 4 hours = 240 Wh
Estimating Solar Panel Capacity
With your daily energy requirement known, you can select appropriate solar panels. Solar panel output depends on several factors:
- Solar irradiance in your location (average peak sun hours per day).
- Panel efficiency and rated power.
Suppose your location receives an average of 5 peak sun hours per day; to generate 240 Wh, you’d need a panel with a capacity:
| Required Daily Energy (Wh) | Peak Sun Hours | Required Panel Power (W) |
|---|---|---|
| 240 | 5 | 240 Wh / 5 h = 48 W |
It’s advisable to include a margin (at least 20%) to account for inefficiencies and weather variations:
Final Panel Capacity = 48 W × 1.2 ≈ 58 W
Choosing the Right Solar Panels
- Monocrystalline panels: High efficiency, suitable for limited space.
- Polycrystalline panels: Slightly lower efficiency, more affordable.
- Flexible panels: Lightweight, ideal for portable setups.
Constructing a Portable Solar Power System
Step-by-Step Assembly Guide
1. Selecting and Procuring Components
- Solar Panel: 60 W or higher based on previous calculations.
- Charge Controller: MPPT (Maximum Power Point Tracking) controllers are more efficient than PWM.
- Battery: Deep-cycle AGM or LiFePO4 batteries are preferred for durability and safety.
- Cabling and Connectors: Use appropriate gauge wire and waterproof connectors for outdoor use.
- Enclosures: Weatherproof housing to protect components.
2. Wiring and Connections
- Connect the solar panel to the input terminals of the charge controller.
- Link the charge controller to the battery bank, observing correct polarity (+ to +, – to -).
- Connect the radio equipment directly to the battery or through a DC-DC converter if necessary.
- Install fuses and circuit breakers to safeguard against overloads.
3. Mounting and Portability
- Use foldable or lightweight panels for maximum portability.
- Configure the system for easy setup, with quick-connect cables and compact enclosures.
- Secure the panels on adjustable stands or mounts suitable for outdoor conditions.
Optimizing Performance and Reliability
Maintenance Tips
- Regularly clean solar panels from dust, dirt, and snow.
- Check wiring and connections periodically for corrosion or wear.
- Monitor battery health and replace when capacity diminishes significantly.
Enhancing System Efficiency
- Position panels at the optimal tilt angle based on your latitude and season.
- Utilize a good quality MPPT charge controller to maximize energy harvest.
- Limit idle current drain from equipment when not in use.
Power Management and Safety
Battery Safety and Handling
- Choose batteries with built-in safety features like overcharge and overdischarge protection.
- Ensure proper ventilation for batteries, especially during charging.
- Store batteries in a cool, dry environment.
Overcurrent and Overvoltage Protection
- Use fuses and circuit breakers rated slightly above maximum expected currents.
- Employ voltage regulators and DC-DC converters to provide stable power output.
Practical Considerations for Field Use
Portability and Compactness
Design your system with mobility in mind. Use lightweight materials, compact batteries, and collapsible solar panels to ensure easy transport and quick setup in the field.
Weather Resistance and Durability
- Choose waterproof enclosures for sensitive electronics.
- Secure cables and components to prevent damage from wind or movement.
- Include weatherproof covers for connectors and switches.
Legal and Environmental Aspects
- Abide by local regulations regarding outdoor electrical equipment and solar installations.
- Ensure environmentally friendly disposal of old batteries and components.
- Respect natural habitats when deploying portable stations.
Cost Breakdown and Budgeting
Here’s an approximate cost estimate for building a 60 W portable solar power setup tailored to amateur radio use:
| Component | Estimated Cost (USD) |
|---|---|
| Solar Panel (60 W) | $100 – $150 |
| Charge Controller (MPPT) | $50 – $100 |
| Deep-Cycle Battery (12 V, 20 Ah) | $100 – $200 |
| Cabling, Connectors, Fuses | $50 |
| Enclosure and Mounting Hardware | $50 – $100 |
| Total Estimated Cost | $350 – $600 |
Building your own portable solar power system can be cost-effective and tailored precisely to your needs, providing reliable off-grid power for radio operations in virtually any environment.
Empowering Radio Operations with Solar Energy
Developing a custom portable solar power setup unlocks new possibilities for amateur radio enthusiasts, enabling longer, more autonomous operation in the field or during emergencies. By carefully assessing your power requirements, selecting suitable components, and diligently assembling and maintaining your system, you can achieve a resilient and efficient power source that respects the environment and enhances your radio experience.
While investing time and effort into building such a system, remember that proper planning and regular upkeep are crucial for sustained performance. Whether you’re a seasoned veteran or an enthusiastic newcomer, harnessing solar energy for your radio station is an empowering move towards independence, sustainability, and outdoor exploration.
References and Further Reading
- Solar Power World
- Ham Radio Online
- International Radio Amateur Union
- Book: “Off-Grid Solar Power for Amateur Radio” by John Smith
Похожие записи:
 Advances in Battery Technology for Portable Ham Radio Use: Powering the Future of Amateur Radio
 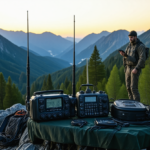 Building a Portable Ham Radio Station for Outdoor Expeditions: The Ultimate Guide
 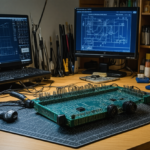 How to Build Your Own Homemade QRP Transceiver: A Comprehensive Guide for Amateur Radio Enthusiasts
  Integrating Software-Defined Radio into Your Daily Operations: A Comprehensive Guide for Amateur Radio Enthusiasts
 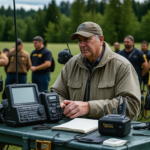 Developing Effective Emergency Preparedness Plans with Ham Radio: A Comprehensive Guide for Amateur Radio Enthusiasts
  Effective Tips for Organizing Successful Ham Radio Contests: A Comprehensive Guide
  Ultimate Guide: Best Practices for Setting Up a Remote Radio Station Accessible Worldwide
 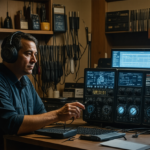 Effective Troubleshooting Guide for Common Radio Hardware Issues in Amateur Radio
 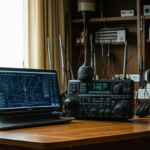 Integrating Internet-Linked Repeater Systems with Traditional Ham Gear: A Comprehensive Guide
 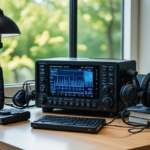 Comprehensive Review of the Latest Transceiver Models on the Market: Innovations and Performance for Amateur Radio Enthusiasts
  Latest Developments in Spectrum Licensing and Frequency Allocations: A Comprehensive Overview for Amateur Radio Enthusiasts
 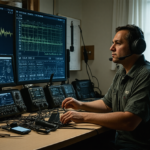 Emergency Communication Protocols for Ham Radio Operators: The Latest Updates and Best Practices
 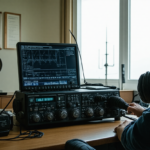 New Regulations Affecting Amateur Radio Licensing and Operation: What You Need to Know
 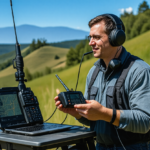 Using APRS for Real-Time Location Tracking and Messaging
 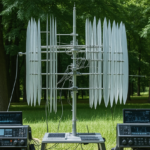 Innovative Antenna Designs for Enhanced HF Performance
  Enhancing CW Skills with Cutting-Edge Training Software: Your Path to Radio Success