Maintaining reliable radio operation hinges significantly on the integrity of your cables and connections. For amateur radio operators, ensuring that all cabling is in optimal condition is crucial for clear signals, minimal interference, and overall system performance. Whether you are an experienced hobbyist or just starting your journey in amateur radio, having the right tools at your disposal makes all the difference. This comprehensive guide introduces essential tools necessary for effective cable and connection maintenance, explains their functions, and provides practical tips for proper use.
- Importance of Proper Cable and Connection Maintenance in Amateur Radio
- Essential Tools for Cable and Connection Maintenance
- 1. Basic Inspection Tools
- 1.1 Visual Inspection Mirror
- 1.2 Flashlight or Headlamp
- 2. Cable Testing and Diagnostic Tools
- 2.1 Multimeter
- 2.2 Cable Tester / Continuity Tester
- 2.3 Time-Domain Reflectometer (TDR)
- 3. Signal Measurement and Adjustment Tools
- 3.1 Spectrum Analyzer
- 3.2 SWR / VSWR Meter
- 4. Cutting and Assembly Tools
- 4.1 Wire Cutters and Strippers
- 4.2 Crimping Tool
- 4.3 Soldering Iron with Solder
- 5. Connectors and Termination Accessories
- 6. Cleaning and Maintenance Supplies
- 6.1 Contact Cleaner
- 6.2 Isopropyl Alcohol and Cleaning Wipes
- 7. Environmental Protection and Storage
- 7.1 Cable Ties and Clips
- 7.2 Waterproof and Weatherproof Enclosures
- How to Use These Tools Effectively: Practical Tips
- 1. Regular Inspection and Testing
- 2. Proper Cable Handling
- 3. Ensuring Secure Connections
- 4. Optimizing Signal Path
- 5. Handling Repairs and Modifications
- Common Problems in Cable and Connection Maintenance and How to Fix Them
- 1. Corrosion of Connectors
- 2. Physical Damage to Cables
- 3. Increased Signal Loss
- 4. Loose or Faulty Connections
- Additional Resources
Importance of Proper Cable and Connection Maintenance in Amateur Radio
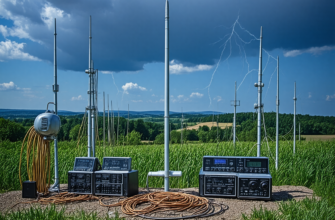
Amateur radio systems rely on antennas, transmitters, receivers, and a complex web of cables and connectors. Over time, environmental factors such as moisture, temperature variations, and physical stress can degrade the quality of these components. Poorly maintained cables can lead to increased signal loss, unwanted noise, and even equipment damage. By regularly inspecting and maintaining cables and connections, radio enthusiasts can ensure optimal performance, extend the lifespan of their equipment, and prevent costly repairs.
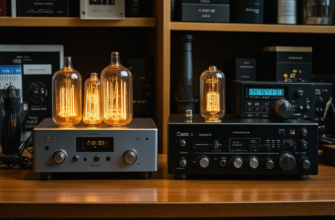
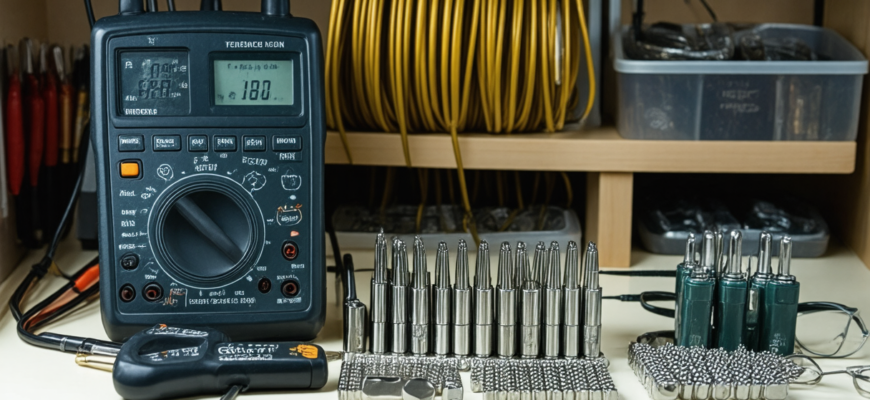
Essential Tools for Cable and Connection Maintenance
Having the right set of tools is fundamental for diagnosing, repairing, and maintaining cable systems. The following sections detail each category of tools necessary for amateur radio cable upkeep, including their functions, specifications, and recommended usage.
1. Basic Inspection Tools
1.1 Visual Inspection Mirror
A small, flexible mirror allows you to inspect hidden or hard-to-see connections, connectors, and cable insulations without disassembly. It helps detect physical damage, corrosion, or debris that may hinder signal transmission.
1.2 Flashlight or Headlamp
A high-quality, bright light source ensures clear visibility in dim or restricted spaces, making it easier to examine connectors, solder joints, and cable runners.
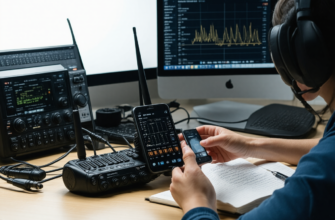
2. Cable Testing and Diagnostic Tools
2.1 Multimeter
A versatile device that measures voltage, resistance, and continuity. It is essential for verifying electrical connections, detecting shorts, and ensuring correct pinouts in connectors.
- Features to consider: auto-ranging, digital display, true RMS measurement.
- Common applications: testing wire integrity, checking for shorts or opens in cables.
2.2 Cable Tester / Continuity Tester
Specialized equipment designed to verify that a cable’s conductors are properly connected; it indicates continuity and fault locations swiftly. Some advanced testers include time-domain reflectometers (TDRs) for pinpointing faults precisely.
2.3 Time-Domain Reflectometer (TDR)
A sophisticated instrument used to locate faults along long cable runs by analyzing reflected signals. Particularly useful for diagnosing open circuits, shorts, or impedance mismatches.
3. Signal Measurement and Adjustment Tools
3.1 Spectrum Analyzer
Allows amateurs to detect interference, measure signal strength, and optimize antenna tuning. Critical for identifying sources of noise and verifying that signals are within acceptable parameters.
3.2 SWR / VSWR Meter
S.Amounts Standing Wave Ratio (SWR or VSWR) meters measure the standing wave pattern along antennas and feedlines. Maintaining low SWR values (<1.5) ensures efficient power transfer and equipment safety.
| Parameter | Optimal Range | Significance |
|---|---|---|
| SWR | <1.5 | Indicates good match between transmitter and antenna |
| VSWR | <1.5 | Lower values indicate minimal power reflection |
4. Cutting and Assembly Tools
4.1 Wire Cutters and Strippers
High-quality wire cutters precisely trim cables without fraying, while wire strippers remove insulation cleanly. Essential for preparing cables before termination or repair.
4.2 Crimping Tool
Used to attach connectors securely to cables, ensuring reliable electrical contact. Look for crimpers compatible with the types of connectors used in your system.
4.3 Soldering Iron with Solder
Soldering provides robust, low-resistance joints for connectors and cable repairs. A temperature-controlled soldering iron ensures clean, consistent solder joints. Use rosin-core solder designed for electronic components.
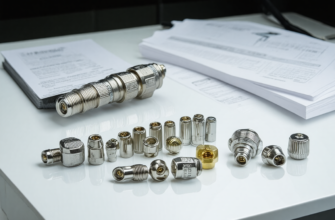
5. Connectors and Termination Accessories
Having a variety of connectors (e.g., BNC, PL-259, N-type) and accessories such as heat shrink tubing, crimping sleeves, and adapters helps tailor solutions for different installation scenarios.
6. Cleaning and Maintenance Supplies
6.1 Contact Cleaner
Electronics-grade contact cleaning sprays remove oxidation, dirt, and moisture from connectors, ensuring optimal electrical contact.
6.2 Isopropyl Alcohol and Cleaning Wipes
Useful for cleaning cable insulations, connectors, and tools, preventing corrosion and maintaining clear signal pathways.
7. Environmental Protection and Storage
7.1 Cable Ties and Clips
Proper cable management reduces physical stress on connections, prevents tangling, and simplifies inspection.
7.2 Waterproof and Weatherproof Enclosures
Protect critical connections from moisture and environmental damage, especially for outdoor installations.
How to Use These Tools Effectively: Practical Tips
1. Regular Inspection and Testing
Schedule periodic checks using visual inspection tools, multimeters, and cable testers to identify and address issues early. Document findings to track cable performance over time.
2. Proper Cable Handling
Avoid bending cables sharply, pulling tightly, or exposing them to harsh environments. Use cable ties and protective conduits as needed.
3. Ensuring Secure Connections
Apply proper crimping and soldering techniques, ensuring reliable electrical contacts. Use contact cleaner periodically to maintain connection quality.
4. Optimizing Signal Path
Use SWR meters and spectrum analyzers to fine-tune antenna setups. Keep cables as short as possible and avoid unnecessary connectors that may introduce loss or interference.
5. Handling Repairs and Modifications
- Disconnect power sources before working on cables.
- Use appropriate tools for cutting and stripping.
- Apply proper soldering or crimping techniques for durable joints.
- Test cables immediately after repairs to confirm integrity.
Common Problems in Cable and Connection Maintenance and How to Fix Them
1. Corrosion of Connectors
Solution: Clean with contact cleaner, replace damaged connectors, and apply dielectric grease for protection.
2. Physical Damage to Cables
Solution: Use cable testers and TDRs to locate and replace damaged sections, reinforce with protective conduits, and avoid stress points.
3. Increased Signal Loss
Solution: Check SWR and spectrum, replace old or damaged cables, and ensure all connectors are tight and corrosion-free.
4. Loose or Faulty Connections
Solution: Re-crimp or re-solder connections, tighten connectors, and verify contact integrity with multimeter or continuity tester.
Efficient maintenance of cables and connections is an essential aspect of amateur radio operation. Equipped with the proper tools, enthusiasts can troubleshoot issues promptly, ensure signal clarity, and extend the lifespan of their equipment. Regular inspection, proper handling, and timely repairs help maintain a resilient radio system capable of delivering optimal performance under various conditions. Investing in quality tools and fostering good maintenance practices pay off by providing reliable communication and enhancing the overall amateur radio experience.
Additional Resources
- Ham Radio Tools and Resources
- ARRL Guide on Cables and Antennas
- Electronic Maintenance Tips for Radio Enthusiasts
Похожие записи:
 Top Weather-Resistant Microphones for Outdoor Use: The Ultimate Guide for Amateur Radio Enthusiasts
  Effective Troubleshooting Guide for Common Radio Hardware Issues in Amateur Radio
 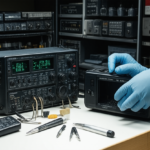 Ultimate Guide: Best Practices for Maintaining and Extending the Lifespan of Your Radio Equipment
  Portable Antenna Analyzers for Precise Tuning: The Ultimate Guide for Amateur Radio Enthusiasts
  Ultimate Guide to Upgrading Your Amateur Radio Station with New Gear: Top Tips and Strategies
 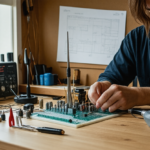 Building a Simple, Low-Cost Antenna Tuner at Home: A Comprehensive Guide for Amateur Radio Enthusiasts
 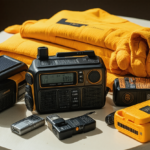 Top Picks for Emergency Radio Kits: Essential Gear for Every Preparedness Kit
  Unlocking the Power of Connection: The Benefits of Joining Amateur Radio Contesting Communities
 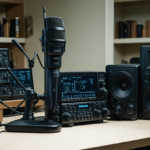 Top Microphone and Speaker Combos for Clear Audio: The Ultimate Guide for Amateur Radio Enthusiasts
 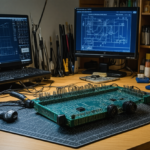 How to Build Your Own Homemade QRP Transceiver: A Comprehensive Guide for Amateur Radio Enthusiasts
  High-Gain Antennas for Long-Distance Communication: Unlocking Extended Reach in Amateur Radio
 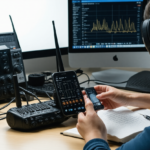 Comprehensive Review of the Latest Mobile Radio Apps and Software for Amateur Enthusiasts
 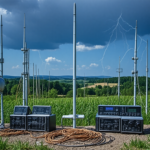 Ultimate Guide to Lightning Protection Gear for Your Radio Setup
  Integrating Software-Defined Radio into Your Daily Operations: A Comprehensive Guide for Amateur Radio Enthusiasts
  Mastering Regulatory Changes: A Comprehensive Guide for Amateur Radio Enthusiasts
  Top Accessories to Maximize Your Performance in Digital Mode Amateur Radio Operations