Embarking on a homebrew radio project is a rite of passage for many amateur radio enthusiasts. It’s a process filled with excitement, challenges, and valuable learning experiences that deepen one’s understanding of radio technology and foster a true sense of accomplishment. This article offers a comprehensive reflection on the journey of creating a first homemade radio, exploring key concepts, design considerations, practical steps, common pitfalls, and lessons learned. Whether you are a newcomer or an experienced hobbyist, this detailed account aims to inspire and inform your own adventures in building radios from scratch.
- The Appeal of Building Your Own Radio
- Starting Point: Setting Goals and Choosing a Design
- Defining Objectives
- Selecting a Radio Design
- Fundamental Components of a Homemade Radio
- Key Electronic Components
- Tools and Equipment
- Designing the Circuit: From Concept to Schematic
- Creating a Block Diagram
- Translating Blocks into a Schematic
- Constructing and Testing the Radio
- Prototyping and Breadboarding
- Initial Power-Up and Troubleshooting
- Aligning and Tuning the Radio
- Calibration Procedures
- Tools Needed for Tuning
- Common Challenges in Homebrew Radio Building
- Component Tolerances
- Oscillation and Interference
- Power Supply Noise
- Lessons Learned and Best Practices
- Expanding Your Homebrew Radio Skills
- Advanced Projects
- Incorporating Modern Technologies
- The Personal and Technical Rewards
- Final Tips for Success in Homebrew Radio Projects
- References and Resources
- Final Reflection
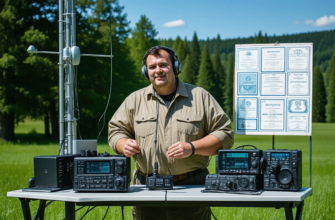
The Appeal of Building Your Own Radio
Amateur radio has long been admired for its blend of technical proficiency and community service. For many enthusiasts, the thrill of successfully constructing a functioning radio from basic components exceeds the experience of simply operating commercial equipment. Building a radio allows for a deeper understanding of electrical circuits, signal processing, and the fundamentals of electromagnetic waves. It also offers immense personal satisfaction, fostering innovation and problem-solving skills.
Starting Point: Setting Goals and Choosing a Design
Defining Objectives
The initial step in any homebrew project involves defining clear goals. Are you aiming to build a simple receiver to tune into local FM broadcasts? Or do you aspire to create a transceiver capable of connecting with other amateurs worldwide? Your objectives influence the choice of design, complexity, and components required.
Selecting a Radio Design
For beginners, superheterodyne receivers or simple regenerative circuits are often recommended. These provide good performance with manageable complexity. More advanced projects may involve transmitters or even fully integrated transceivers utilizing microcontrollers and SDR (Software Defined Radio) techniques.
Fundamental Components of a Homemade Radio
Key Electronic Components
Building a radio from scratch involves a variety of components, each serving a specific purpose:
- Resistors: Control current flow.
- Capacitors: Handle tuning and filtering.
- Inductors: Form tuned circuits and filters.
- Transformers: Provide impedance matching and isolation.
- Diodes: Used in demodulation and detection circuits.
- Transistors/MOSFETs: Amplify signals.
- Oscillators: Generate carrier frequencies.
- Variable capacitors: Enable frequency tuning.
Tools and Equipment
Essential tools for a homebrew radio project include:
- Soldering iron and soldering accessories
- Multimeter for testing and measurements
- Oscilloscope for signal analysis
- Frequency counter
- Signal generator (optional but helpful)
- Wire strippers and cutters
- Prototyping breadboards or printed circuit boards (PCBs)
Designing the Circuit: From Concept to Schematic
Creating a Block Diagram
A logical starting point is to develop a block diagram outlining the main sections of the radio. Typically, a receiver may include:
- RF Front End (antenna and preselector)
- Mixer and Local Oscillator
- IF (Intermediate Frequency) Amplifier and Filters
- Demodulator
- Audio Amplifier
Translating Blocks into a Schematic
Once a block diagram is complete, translating it into an actual circuit schematic involves selecting specific components and connecting them according to electronic principles. Free schematic design software like EAGLE, KiCad, or EasyEDA can facilitate this process.
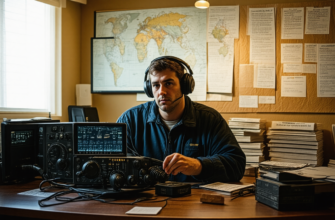
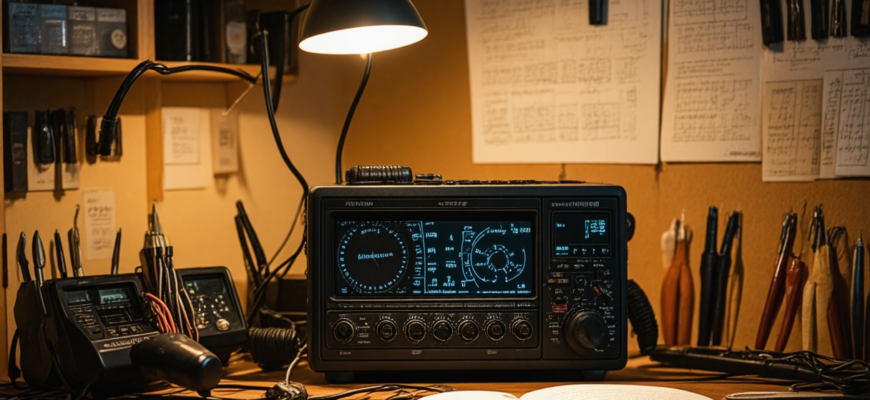
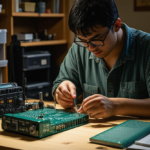
Constructing and Testing the Radio
Prototyping and Breadboarding
Before committing to a printed circuit board, it’s advisable to assemble the circuit on a breadboard or solderable prototype. This phase allows testing, troubleshooting, and optimizing parameters without permanent soldering.
Initial Power-Up and Troubleshooting
When powering the circuit for the first time, always proceed with caution:
- Use a current-limited power supply.
- Double-check all connections against the schematic.
- Start with low voltage testing and gradually increase as needed.
If the circuit doesn’t function as expected, systematic troubleshooting—including checking voltages at critical points, verifying component orientations, and listening for oscillations—is essential.
Aligning and Tuning the Radio
Calibration Procedures
Proper alignment is crucial for optimal performance. Typical steps involve:
- Setting the local oscillator frequency accurately—using a frequency counter if available.
- Tuning the sound or RF filters for maximum signal strength.
- Adjusting the antenna matching network for efficient reception.
Tools Needed for Tuning
Aside from a multimeter, precise tuning often requires:
- Signal generator or known broadcast stations
- RF voltmeter or SWR meter
- Frequency counter
Common Challenges in Homebrew Radio Building
Component Tolerances
One of the main obstacles is the variation in component values—especially inductors and capacitors—affecting frequency accuracy and stability. Using high-quality, well-characterized parts helps mitigate these issues.
Oscillation and Interference
Unwanted oscillations can cause interference or distortion. Techniques such as proper grounding, shielding, and employing stability components are vital.
Power Supply Noise
Fluctuations and noise in the power supply can introduce hum and reduce sensitivity. Using filtering circuits, regulators, and decoupling capacitors improves stability.
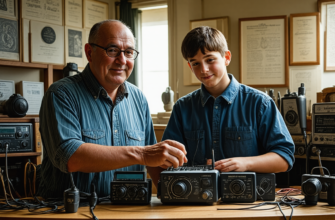
Lessons Learned and Best Practices
Building a radio from scratch offers numerous lessons, some of which include:
- Patience is key: Troubleshooting and aligning can take time but lead to better understanding.
- Documentation matters: Keeping detailed records of schematics, measurements, and modifications simplifies troubleshooting and future adjustments.
- Start simple: Complex projects may become overwhelming; beginning with basic circuits builds confidence and skills.
- Engage with the community: Online forums, local clubs, and workshops provide support, insights, and encouragement.
Expanding Your Homebrew Radio Skills
Advanced Projects
Once comfortable with basic designs, enthusiasts often explore more sophisticated endeavors, such as:
- Transceivers capable of SSB (Single Sideband) transmission
- Digital modes (e.g., PSK31, FT8)
- Software Defined Radio (SDR) implementations
- Remote control and automation
Incorporating Modern Technologies
Integrating microcontrollers like Arduino or Raspberry Pi can improve tunability, data logging, and remote operation, opening new horizons for amateur radio experimentation.
The Personal and Technical Rewards
The journey of creating a homebrew radio is as rewarding as the technical knowledge gained. It fosters a hands-on approach that enhances understanding of electromagnetic phenomena, circuit design, and problem-solving skills. More importantly, it connects amateur radio enthusiasts with the roots of radio technology, reminding us of the pioneering spirit that continues to drive innovations in communication.
Final Tips for Success in Homebrew Radio Projects
- Thoroughly research your chosen design before starting.
- Gather quality components to ensure better performance.
- Take systematic notes during construction and testing.
- Be patient and persistent—miracles rarely happen overnight.
- Share your progress with fellow hobbyists for feedback and encouragement.
References and Resources
| Book / Guide | Description | Link / Author |
|---|---|---|
| “The ARRL Handbook for Radio Communications” | Comprehensive resource on radio theory, design, and construction. | ARRL Publications |
| “Builder’s Guide to Transmitters” by QRP Labs | Practical tips for building transmitters from scratch. | QRP Labs |
| Online forums | Active communities sharing project ideas and troubleshooting | e.g., QRZ Forums, Amateur Radio subreddit |
Final Reflection
Creating a first homebrew radio is more than just assembling electronic parts; it’s a process of discovery, patience, and continuous learning. The challenges faced serve as opportunities to deepen technical knowledge and develop problem-solving skills, while the eventual success provides a sense of achievement that cannot be matched by off-the-shelf equipment. As amateur radio enthusiasts continue to innovate and experiment, their projects—no matter how simple or complex—contribute to the timeless legacy of radio communication and personal growth.
Похожие записи:
 Building My First Transceiver and the Challenges Faced: An Amateur Radio Enthusiast’s Journey
  How a Simple Antenna Repair Sparked a Long-lasting Friendship – An Amateur Radio Journey
  Sharing the Story of My First Satellite Contact: An Amateur Radio Journey
 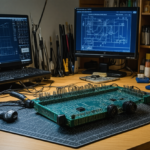 How to Build Your Own Homemade QRP Transceiver: A Comprehensive Guide for Amateur Radio Enthusiasts
  Memories of a Radio Swap Meet Day: A Nostalgic Journey into the World of Ham Radio
  Celebrating a Milestone with My Radio Club: A Journey of Achievement and Community Spirit
 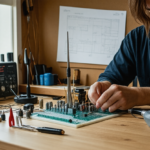 Building a Simple, Low-Cost Antenna Tuner at Home: A Comprehensive Guide for Amateur Radio Enthusiasts
 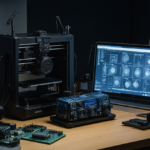 Comprehensive Review of 3D Printing Solutions for Custom Radio Parts: Innovating Amateur Radio DIY Projects
  How a Lost Radio Helped Reconnect a Community: The Power of Amateur Radio
 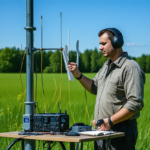 Mastering Your Amateur Radio Antenna: Comprehensive Guide to Tuning and Testing
 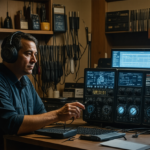 Effective Troubleshooting Guide for Common Radio Hardware Issues in Amateur Radio
  Memories from a Challenging QRP Expedition: Lessons, Triumphs, and Insights
  Lessons Learned from a Tough QSL Card Exchange: Enhancing Your Ham Radio Operations
  How to Build a Simple Dipole Antenna at Home: A Comprehensive Guide for Amateur Radio Enthusiasts
  The Day I Assisted in a Search and Rescue Operation: An Amateur Radio Operator’s Perspective
  The Time My Portable Station Surprised Everyone: A Spectacular Moment in Amateur Radio